Building Raised Beds
for Gardening
Building raised beds for gardening will give you more scope in your garden and they can be adapted to your needs.
When my friend and I were working on his garden, I noticed he was having trouble getting down to the ground so we incorporated a raised section to grow some vegetables and flowers.
I have used raised bed when the ground soil has lots of roots that make digging very difficult. Another plus is adding different type of soil to the garden to grow plants that prefer that type such as Ericaceous soil.
Building raised beds for gardening produce.
These can be made in a variety of ways using many different items such as containers like tyres and plant pots. I had an old plastic dustbin that I cut into 3 sections, painted them white and placed them in the front garden where there were so many underground roots.
They can also be made with edging out of old roof tiles, bricks, slabs, scaffolding boards, wood, fallen tree branches and the list goes on. Virtually anything that will keep the soil in place. If wood or tree branches are used these will need to be replaced as the decomposing issue happens.
When I made the one shown below I used wood. I have no experience in woodwork or making wonderful wooden things but I do have a "can do" attitude and the end look is fine for me and serves the purpose.
We were having such a lot of building work being done on the house, sorting the garden out became my job.
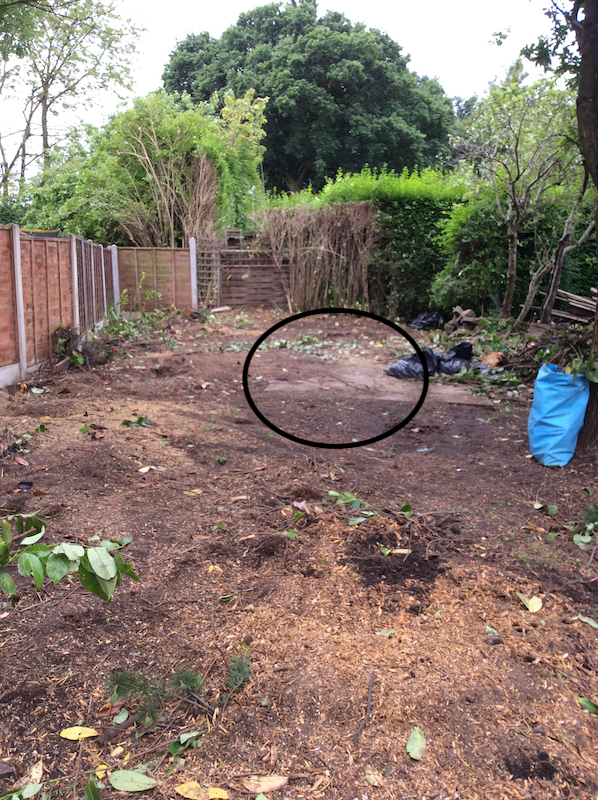
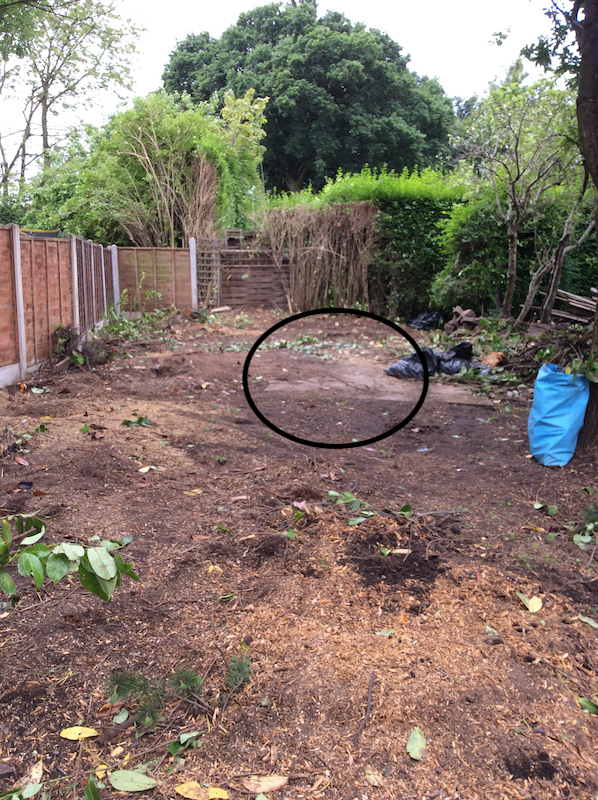
The black oval shows where a patio was found under the earth after having some old trees removed. After deciding to keep it where it was, it seemed a good start for my raised bed. The ground had lot of roots and was undernourished so new plants may of had difficulty growing.
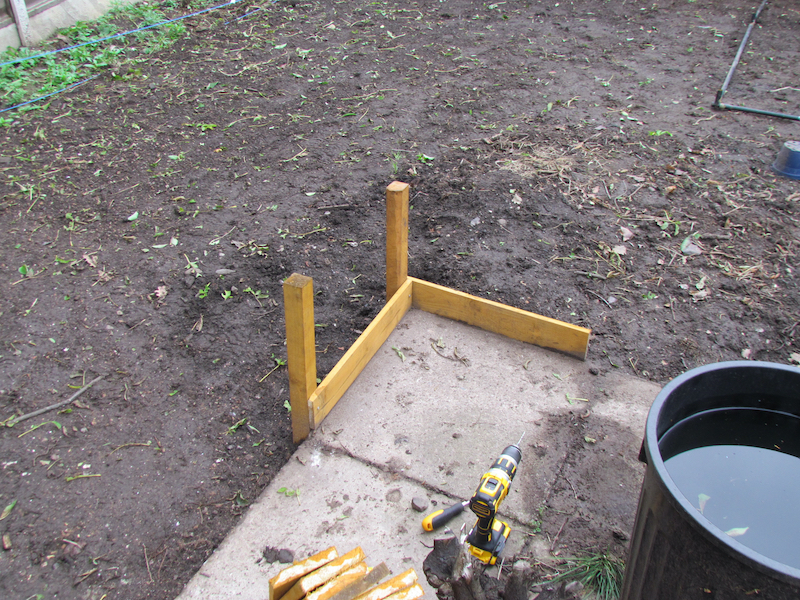
Using uprights 10 x 4.5 cm and planks 2 x 10 cm, a "L" shaped bed was started. The uprights can be cemented in but as I wasn't sure how the garden would develop, I didn't use cement.
They were firm when knocked into the ground.
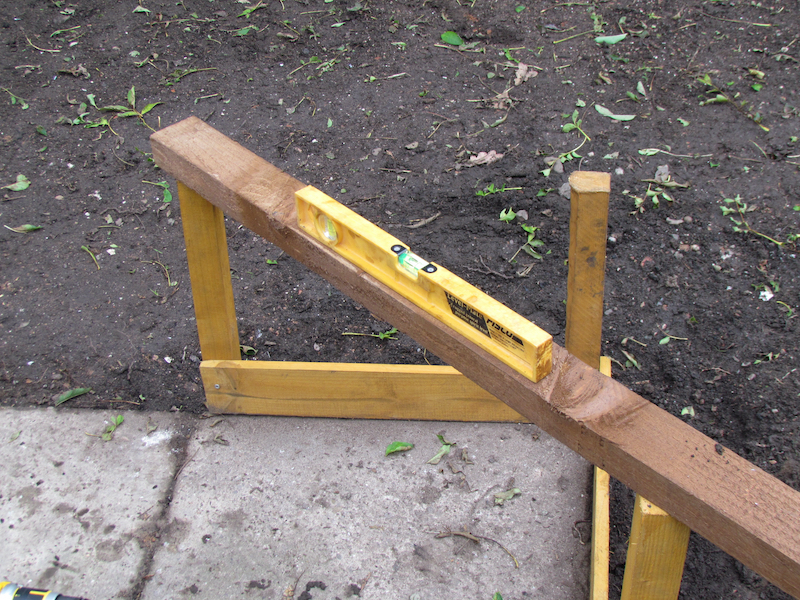
Although this was one of my rustic looks it still needed to be level.
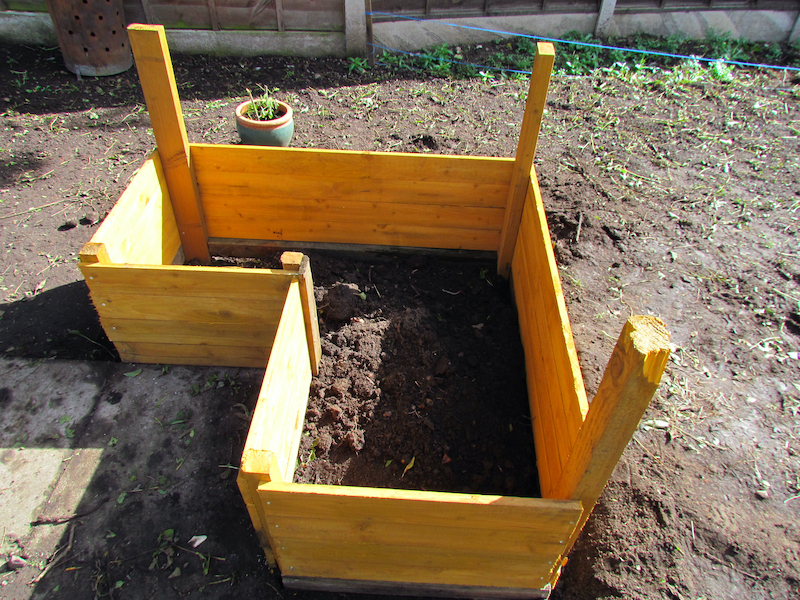
Placing all the uprights where they were to go and making them level and secure.
Cut the planks to size and screwed them onto the uprights.
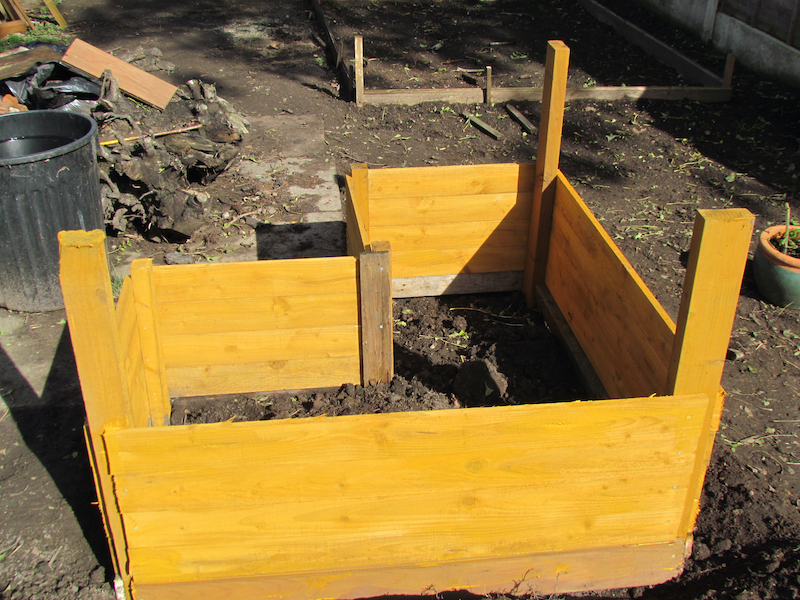
After it was completed the wood was treated with preserving paint.
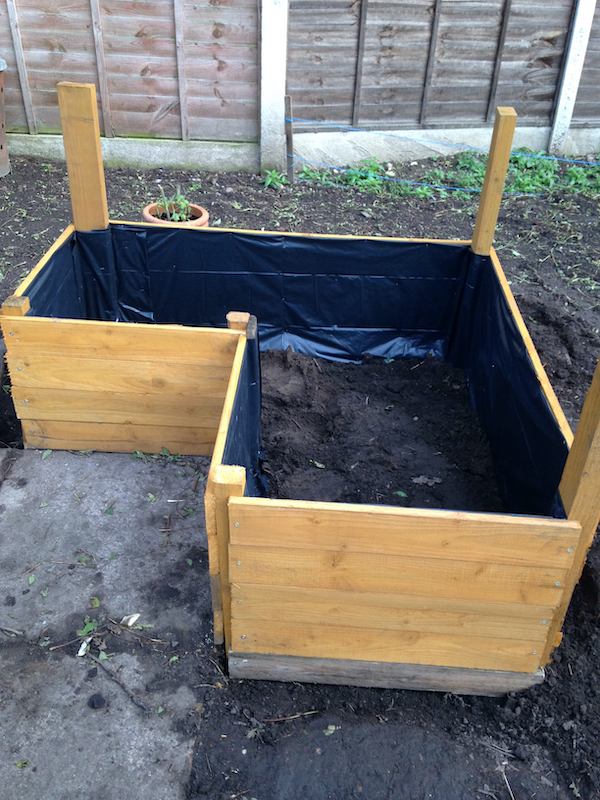
The beds were lined with plastic in order to slow down the decomposing issue and to protect the soil from the preserving paint.
The soil was then added.
Making a lockdown raised bed from leftover wood.
In 2020 when lockdown was announced and there was no where to go and the weather was beautiful, I decided to keep myself busy making another raised bed with leftover wood I had around the garden and in the shed.
This bed was going to be at the front of the greenhouse making an extremely wide path into something useful for growing. Again the area had been overgrown and there were lots of underground roots but also good soil.
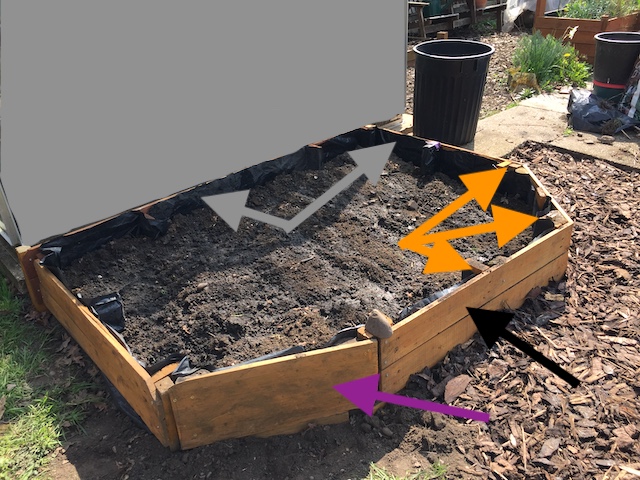
The picture above shows the bed when it was completed and the process is just the same as the first raised bed.
The orange arrows shows the upright supports that have been fixed into the ground (not cemented in again). Because of the location of the bed and the fact that there is a path surrounding it, the corners were angled so no shins were hurt by accident.
The purple arrow shows one piece of wood instead of the two shown by the black arrow and also the first raised bed. The similar size of wood was used on the other corner.
The grey arrows show that this was also lined with plastic and in this case the bags that the surrounding bark came in where used.

The picture above shows the position of the bed and how it narrows down the wide path which cut down the amount of bark that is put down to help suppress the weeds.
Once all the sides had been painted it looked great, has been in place for three years and has yielded one of the best crop of potatoes.
Other types of raised garden beds
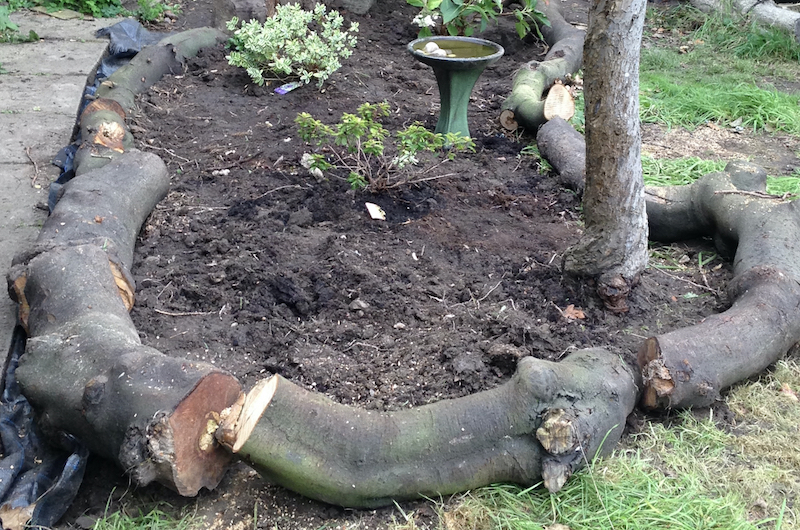
Flower bed bordered with large tree branches. These will eventually rot away but are providing a home for nature at the moment. This could be filled higher for growing vegetables.
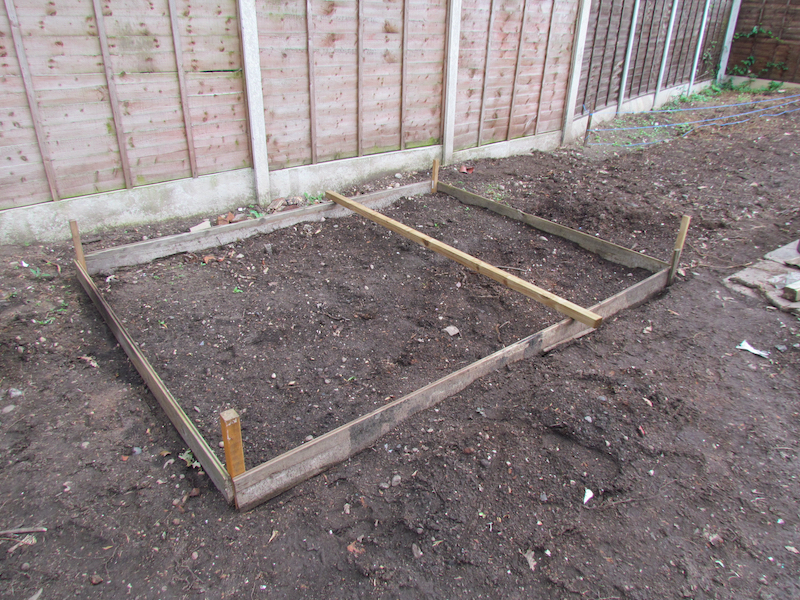
A shallower raised bed can be made with long planks or scaffolding boards.
These can also be made double height if wanted.
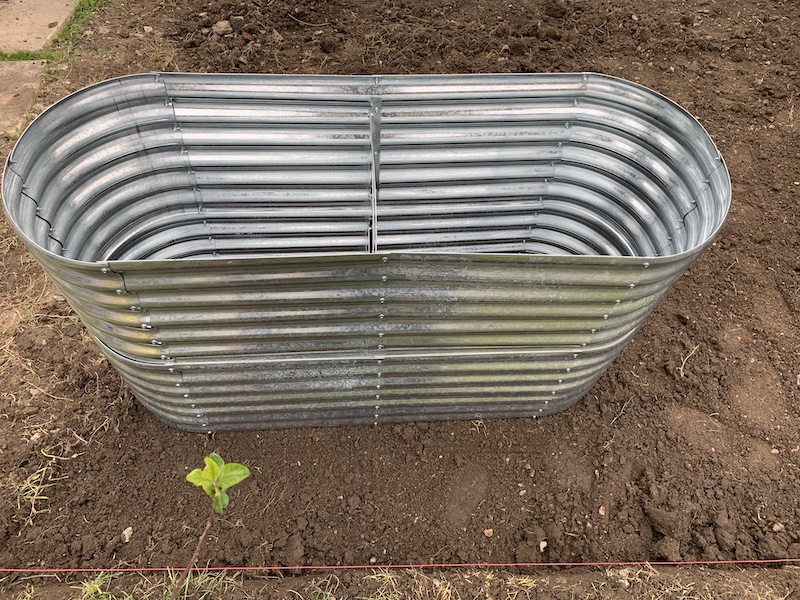
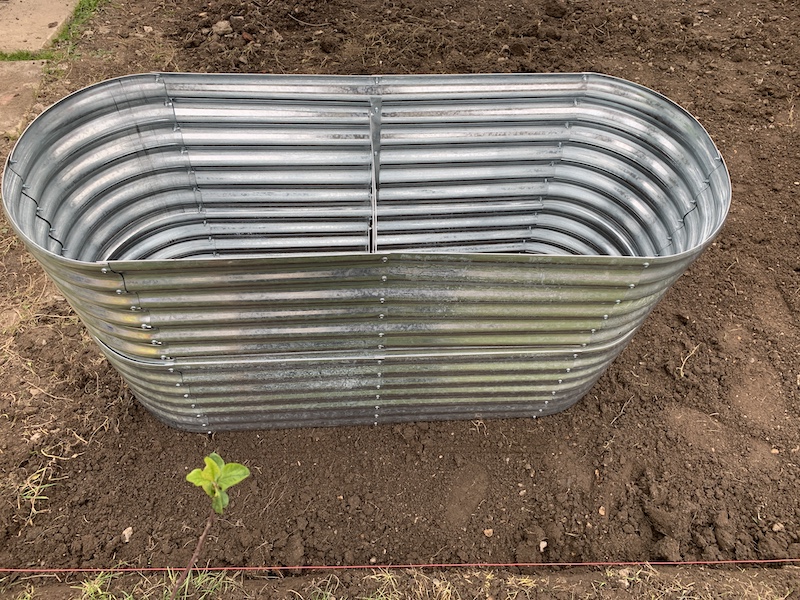
This metal raised bed was quite high and when fixed together very sturdy.
The size was 68 cm high, 40 cm deep and 114 cm long.
Fixing it together was a bit tricky but managed to finish it and just have to remember there are cross strips in the middle.
These raised beds can be made in lots of different shapes. I have kept mine rectangular but since making these I may decide to remodel the design in order to reach the corners easier without standing on the plants inside.
Enjoy using and / or making your raised garden beds.
- Home
- Planning a Garden
- Building Raised Beds for Gardening
